A Simple Three-Step System for Lighting Any Shot
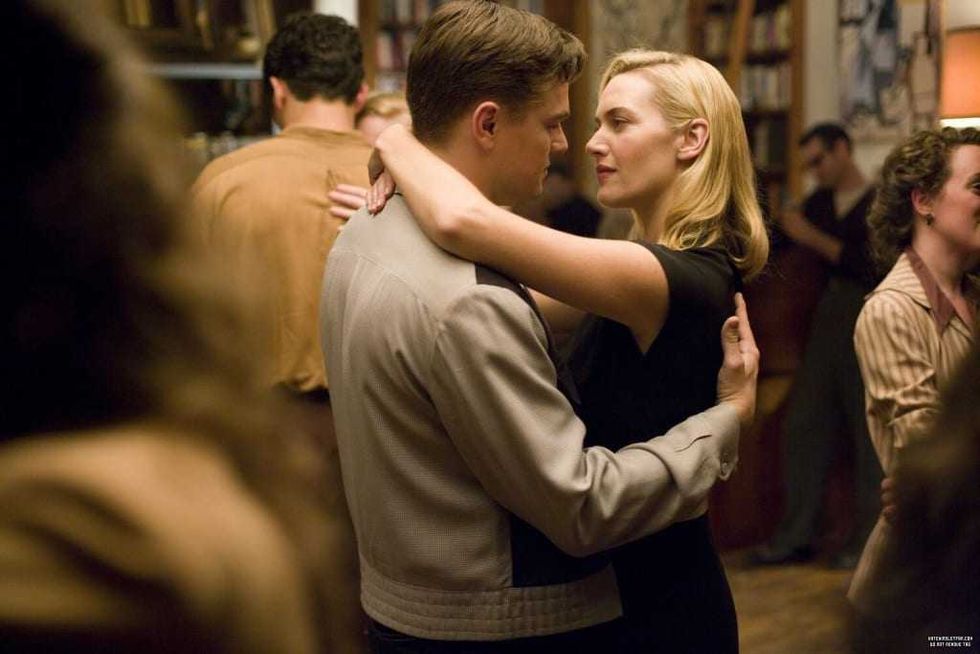
The reason you'll hear so many directors and DPs say that the gear doesn't matter to filmmaking is that gear doesn't maketh the filmmaker.
You can have the most incredible camera at the highest resolution with the best-quality lenses, but if you don't know what you're doing with them, that gear doesn't matter. You could shoot on an ARRI Alexa 35 with a set of Cooke lenses and still not get the movie look, because what separates you from the filmmakers you admire is your lighting.
Edward Crockett is a cinematographer and YouTube educator who breaks down camera gear, lighting, and how famous scenes were shot. His YouTube channel is aimed at what he calls "blue-collar" filmmakers, meaning the solo shooters, small-market crews, and people trying to get the most out of the gear they already own.
So that's why we were excited to check out his new video about a simple lighting setup you can apply in several situations that will always look good. Here's the system and how to use it on your next shoot.
- YouTube www.youtube.com
Step One: Motivate Your Light
Crockett starts with his own early mistake. He'd have a window in the scene, put his light wherever felt right, and add a kicker behind the subject for no reason. Then he'd wonder why a setup that looked like textbook three-point lighting still looked bad.
"Well, there's a myriad of reasons that this kind of setup wasn't looking great, but the main reason is that my lighting had no motivation."
Motivated lighting means the light within the scene has a reason to exist from something in the scene itself. This could be a phone screen, a lamp on a table, car headlights, or light from a window.
…