The Art of Reframing: A Creator’s Guide to 360 Video Editing
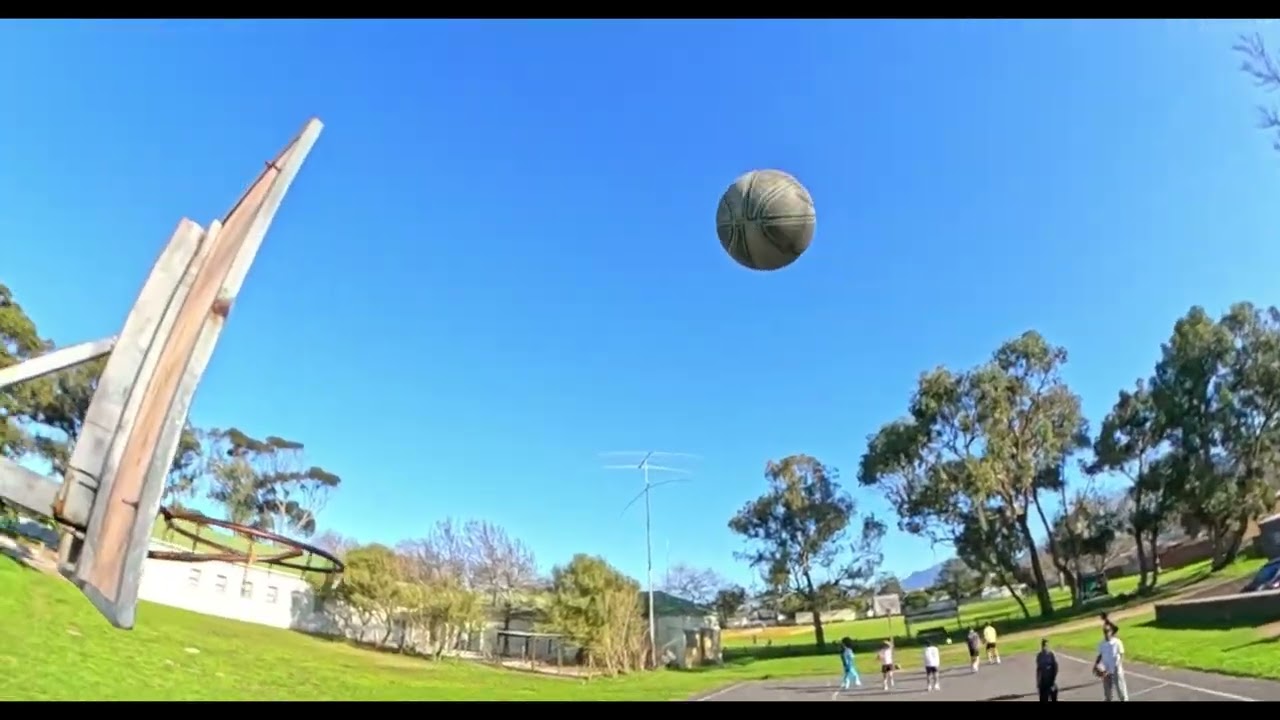
The magic of cinematic storytelling with a 360-degree camera, like the GoPro MAX 2, lies in the “shoot now, edit later” philosophy. You capture the entire spherical environment in real time, giving you the freedom to defer your directorial decisions to later at your desk.
In this article, using video examples, we will learn how to edit 360-degree camera footage. I will be using Adobe Premiere Pro for this demonstration, but the fundamental editing concepts apply universally across brands and software such as DaVinci Resolve, or mobile apps like Insta360, DJI Mimo, or GoPro Quik.
This is how the article is structured:
- Foundational concepts and the editing process applicable to any 360 footage.
- Workflow for exporting any 360 footage for Adobe Premiere Pro and DaVinci Resolve.
Foundational Concept for 360 Editing
1. Resolution Guidelines: Why 8K and 5.6K Matter
When you shoot a standard video, for example, 4K, and want to export it in 4K as well, zooming in or out during editing will cause resolution to be lost, as pixels are stretched, making the video “soft”.
To zoom in and out while maintaining good resolution while editing, consider shooting at higher resolutions, such as 5.6K or 8K, with a 360 camera. This allows you to capture vast amounts of visual data, providing flexibility to zoom in, crop, and reframe your shots for a 4K or 1080p timeline, without losing image quality.
Since higher resolution requires more data and faster write speeds on your microSD card, I suggest choosing a reliable card. I personally use a 256 GB SanDisk Extreme microSD card.
2. Mastering Frame Rates for 360 Video
…
Read the full story at Adorama Learning Center
Related stories
Video · Adorama Learning Center
Anamorphic Vertical Video – Vertiscope
Video · Adorama Learning Center
How to Use Open Gate to Improve Your Videos
Video · Adorama Learning Center
The Cork Bros on the Future of Storytelling, One Vertical Frame at a Time
Video · Adorama Learning Center